

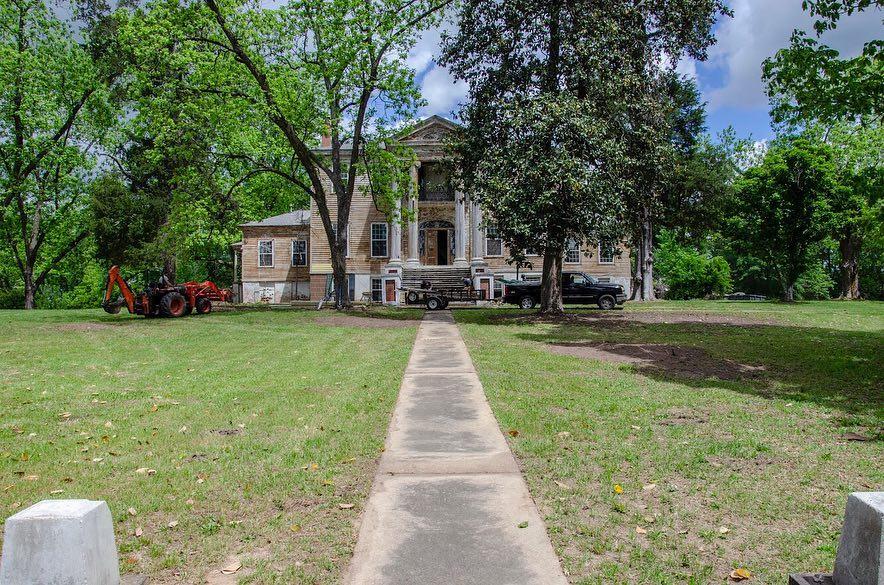
Explore the care, attention, time, and hard work we gave to restoring Rockwell.
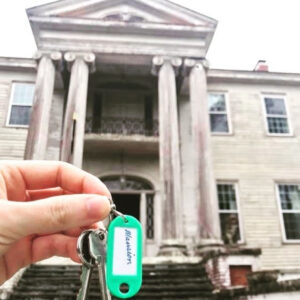
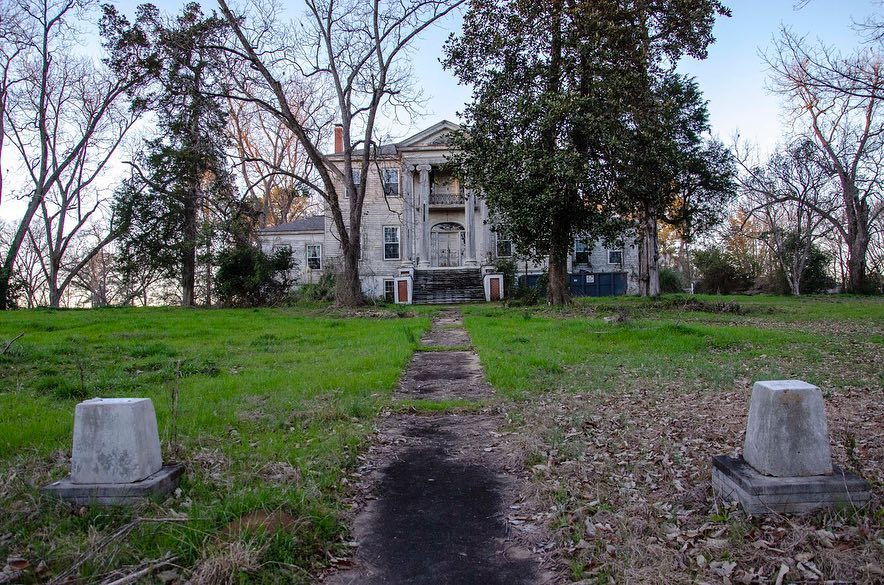
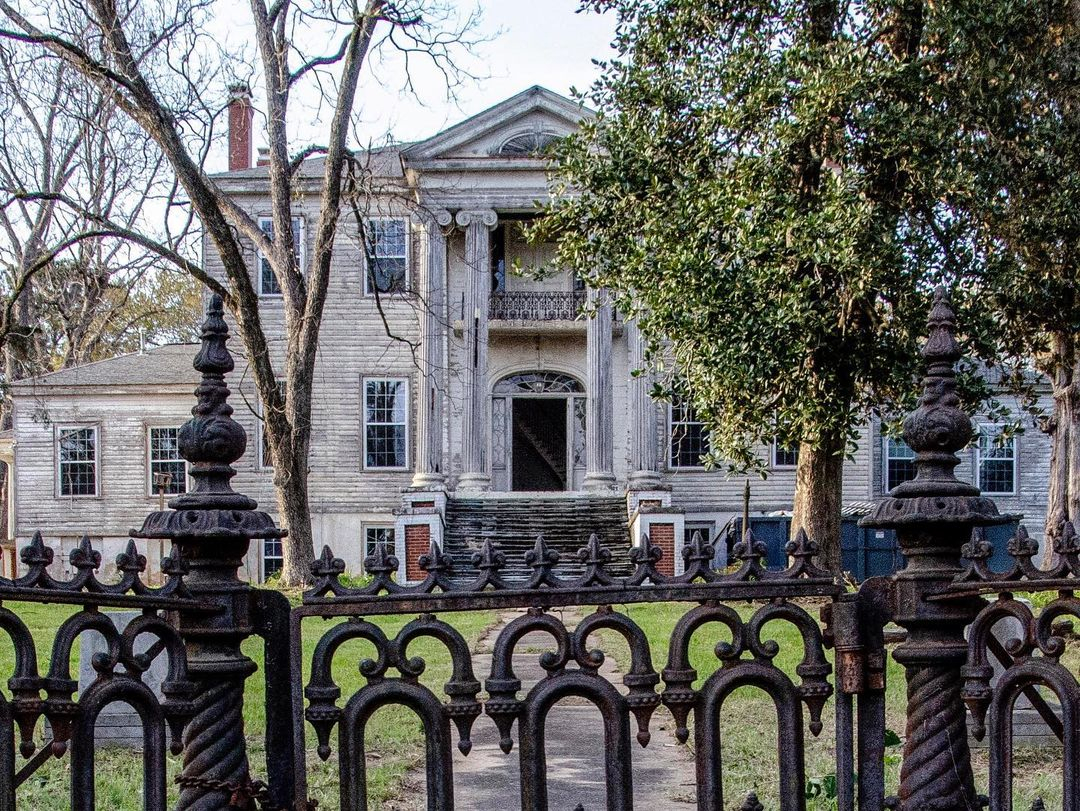
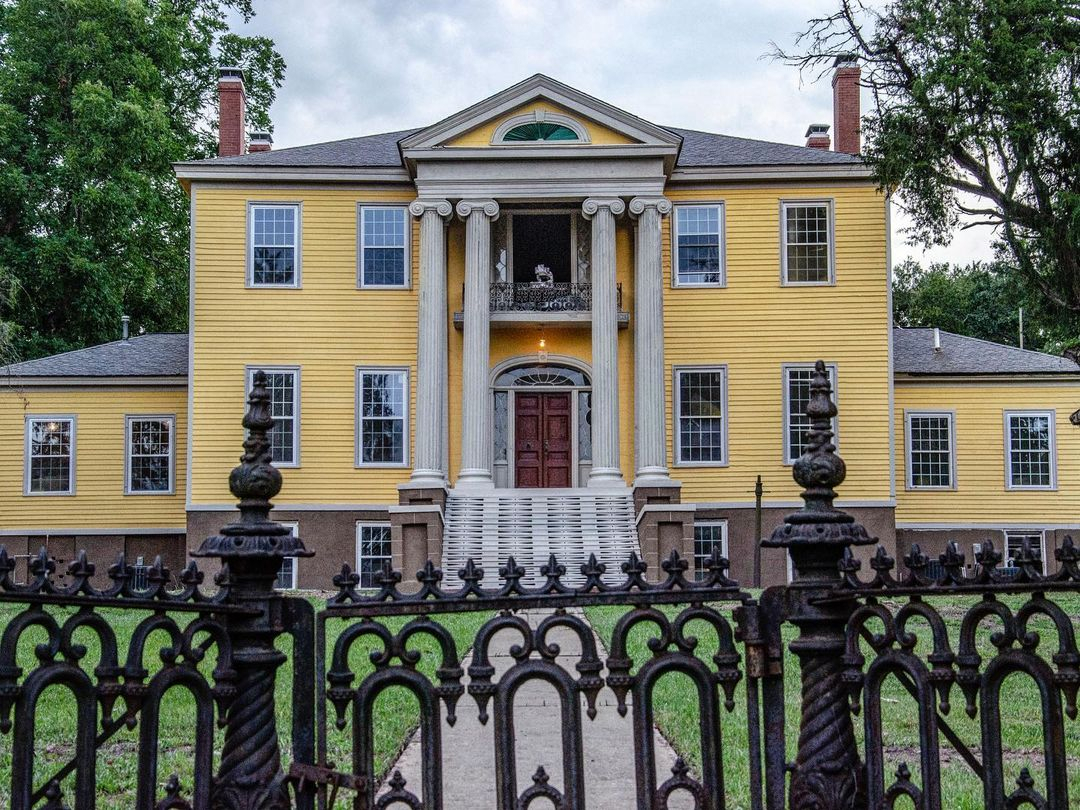
When the Rockwell House became available for purchase, we saw a perfect opportunity to resurrect an almost-lost historic treasure. Our group of investors has strong connections to historic preservation and is committed to preserving the vibrant histories of Georgia while creating space for them to thrive in today’s world. While Rockwell was passed over by many, we immediately envisioned a bustling pillar of activity for the Milledgeville community.
1. Scoping the Work
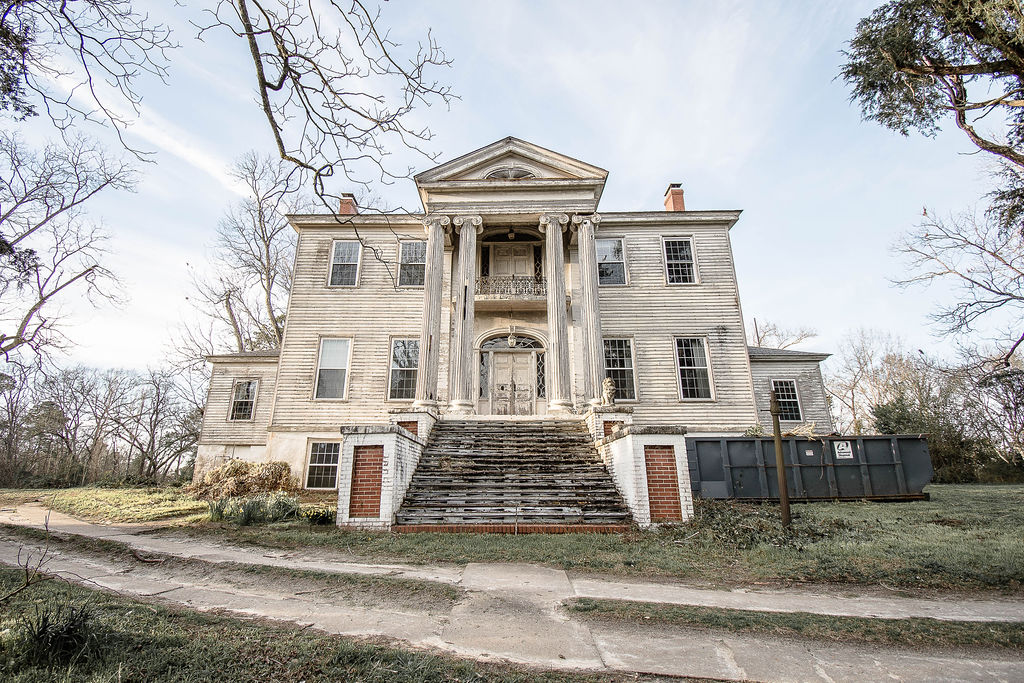
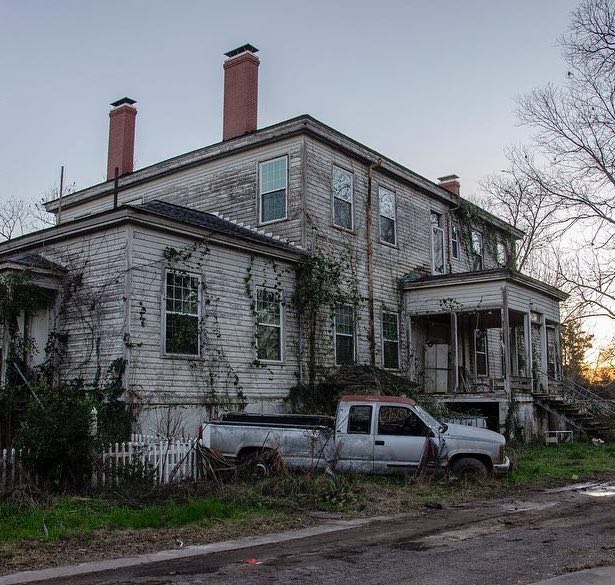
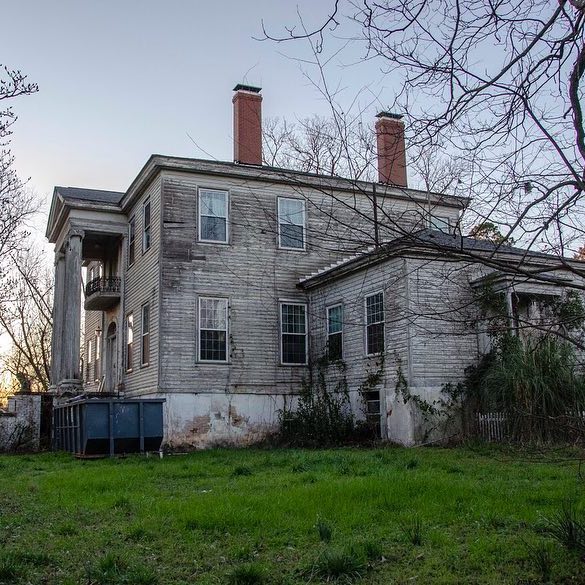
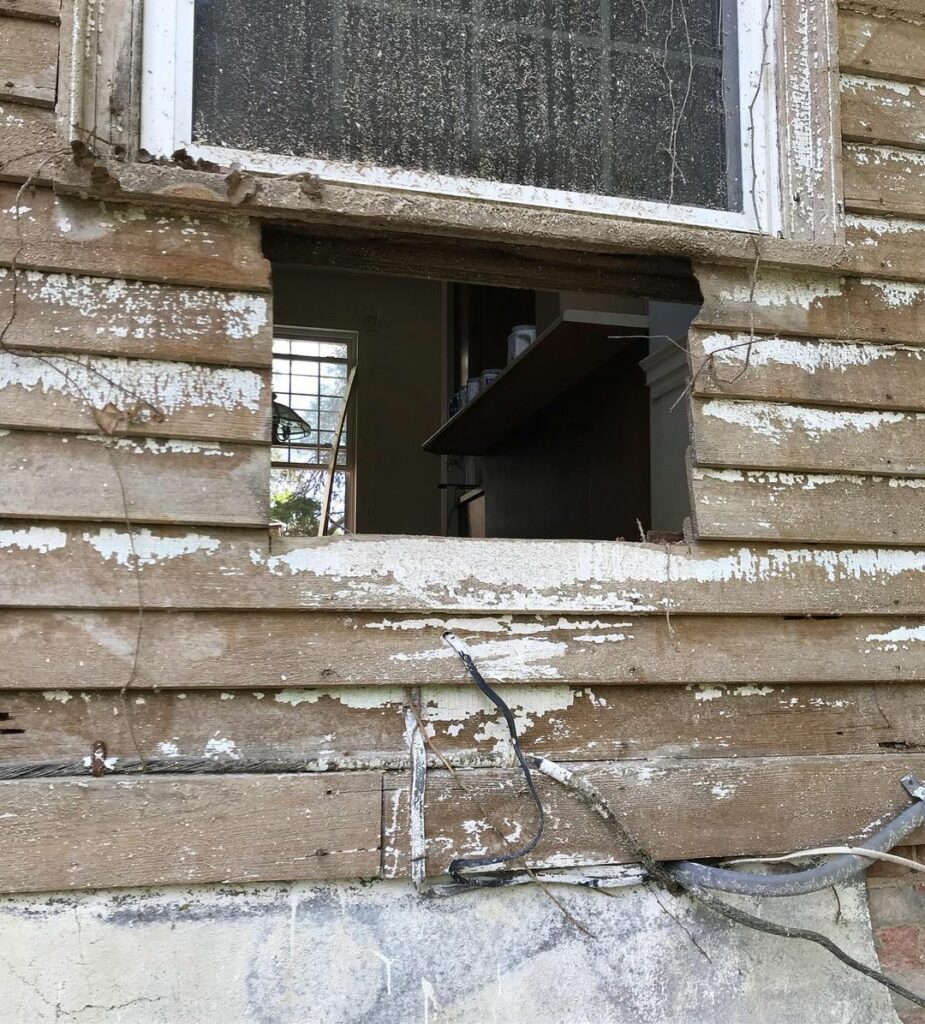
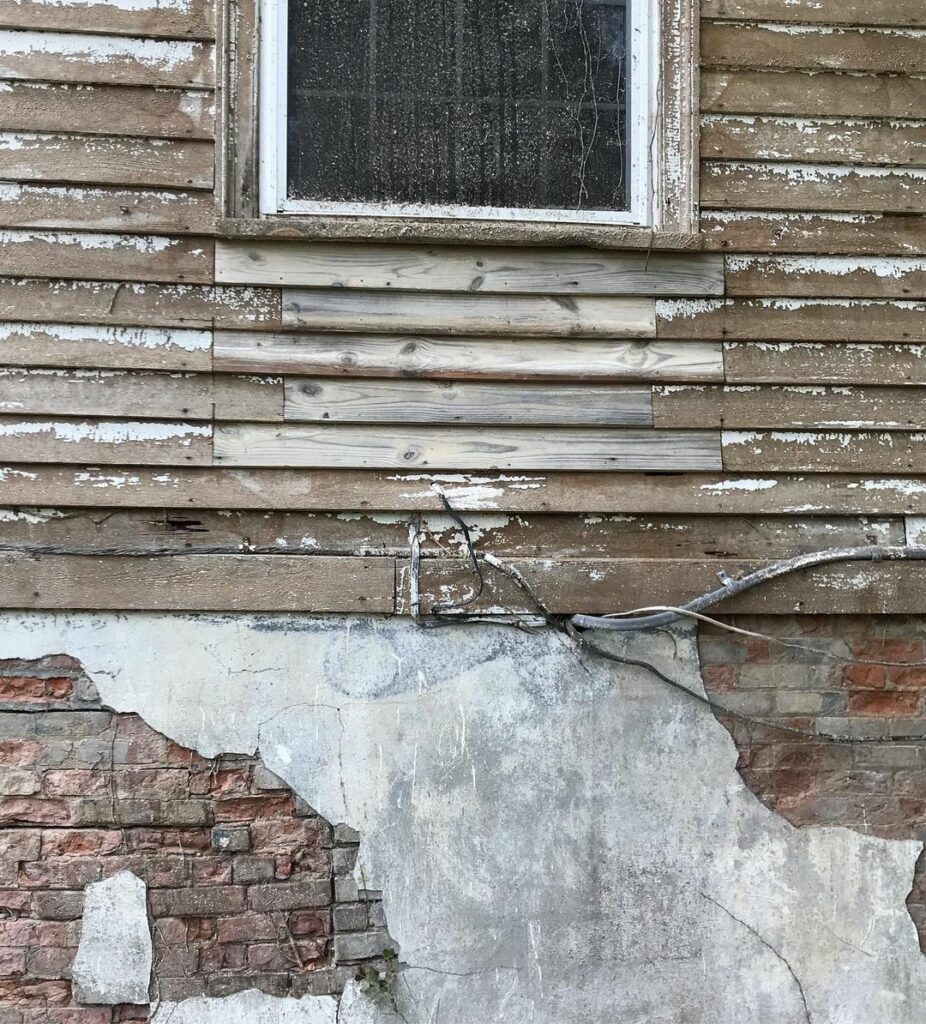
From the moment we first stepped into the Rockwell House, even before we committed to buying, it was clear that this was a major restoration project by any measure. However, the most recent previous owners did important work to protect the home, including keeping the roof in good condition. There were extensive cosmetic deteriorations that made the exterior look rough, but there was very little rot and no major structural issues. The Rockwell House was in great condition – relatively – no doubt due to its timber-framing and thick granite foundation.

2. Exterior and Major Systems
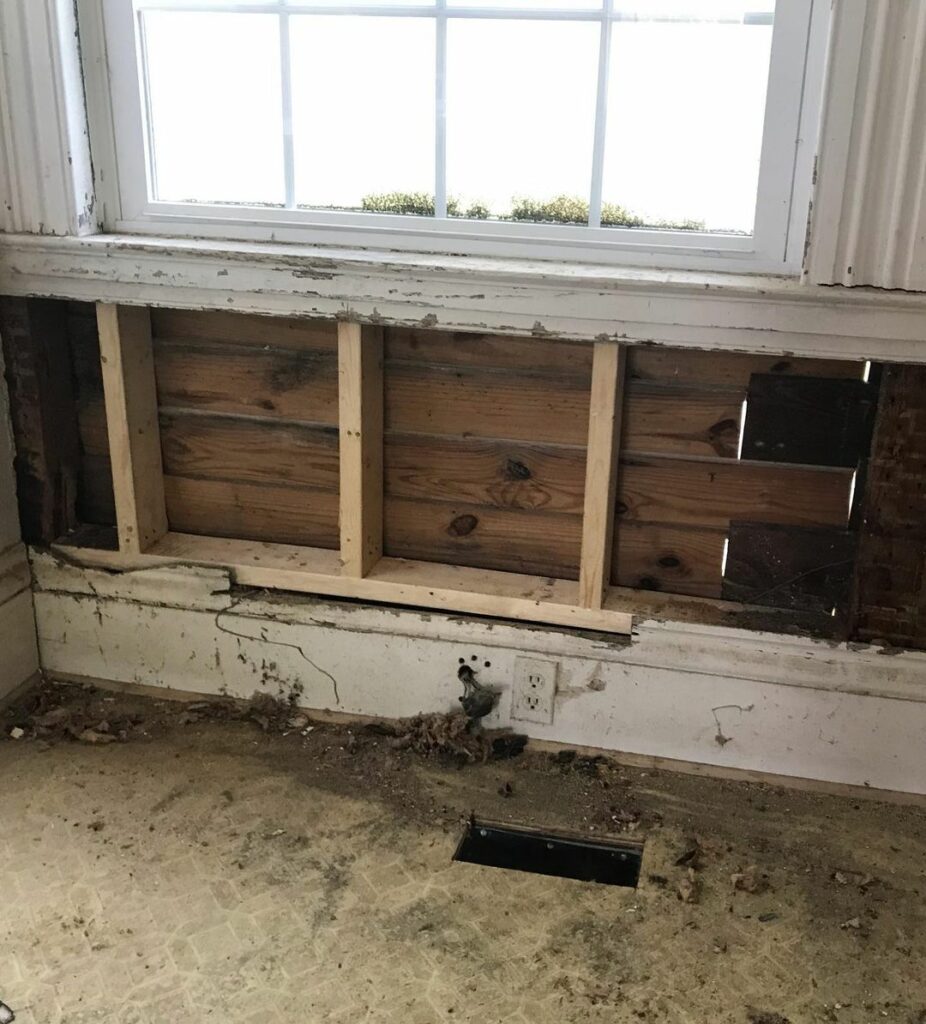
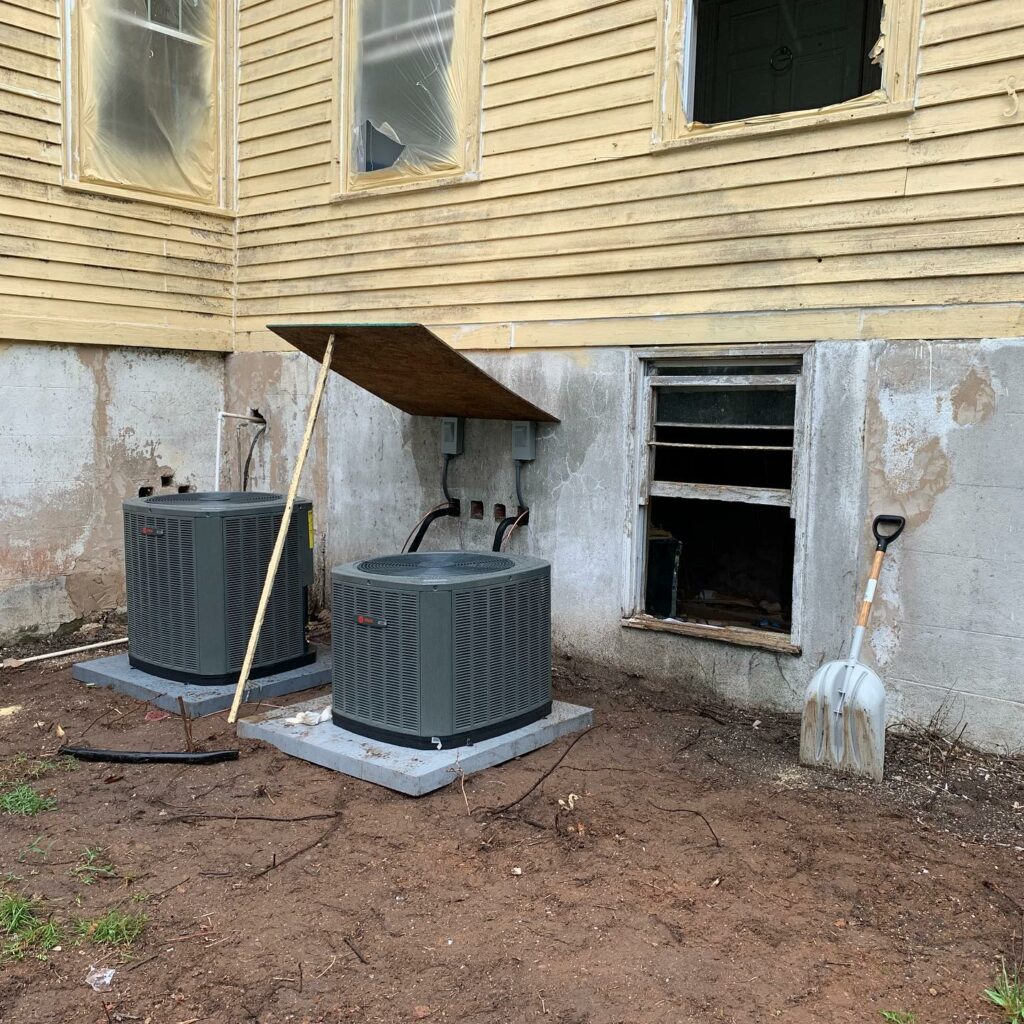
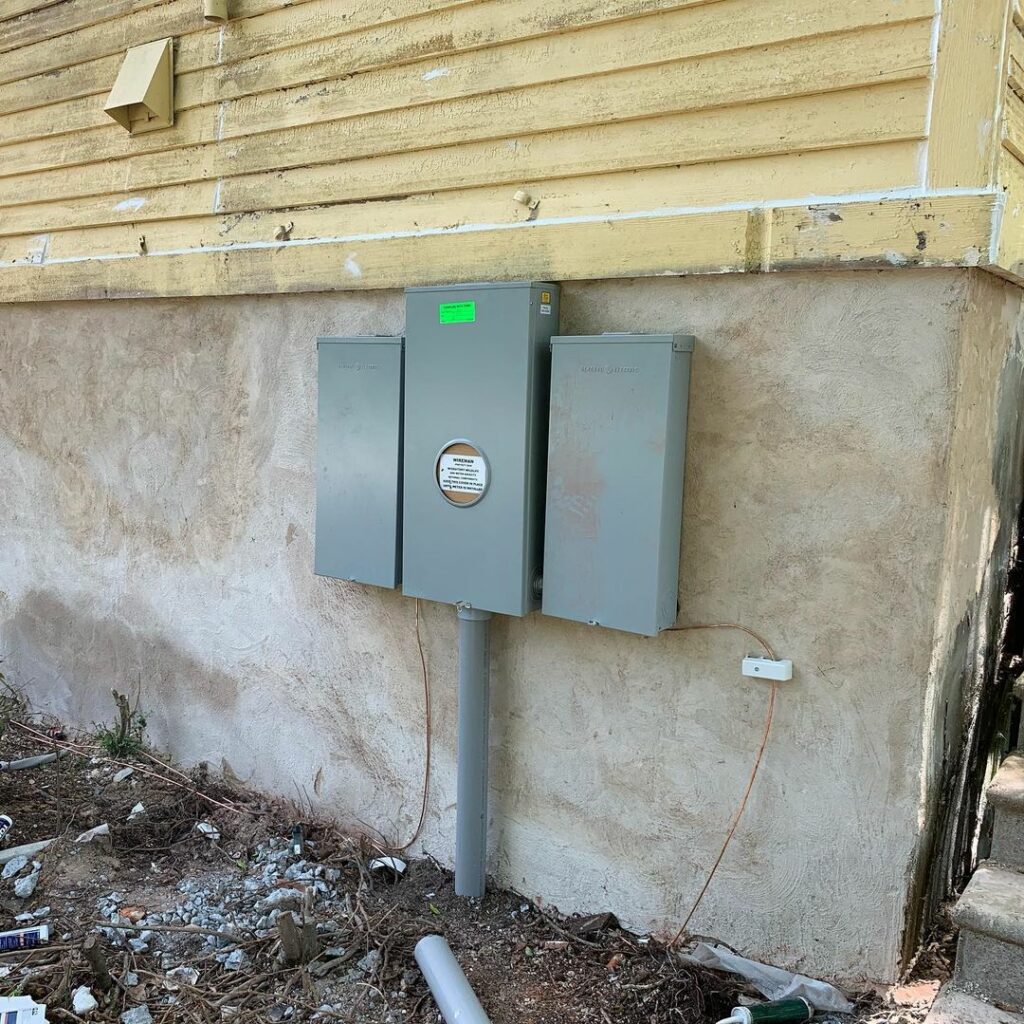
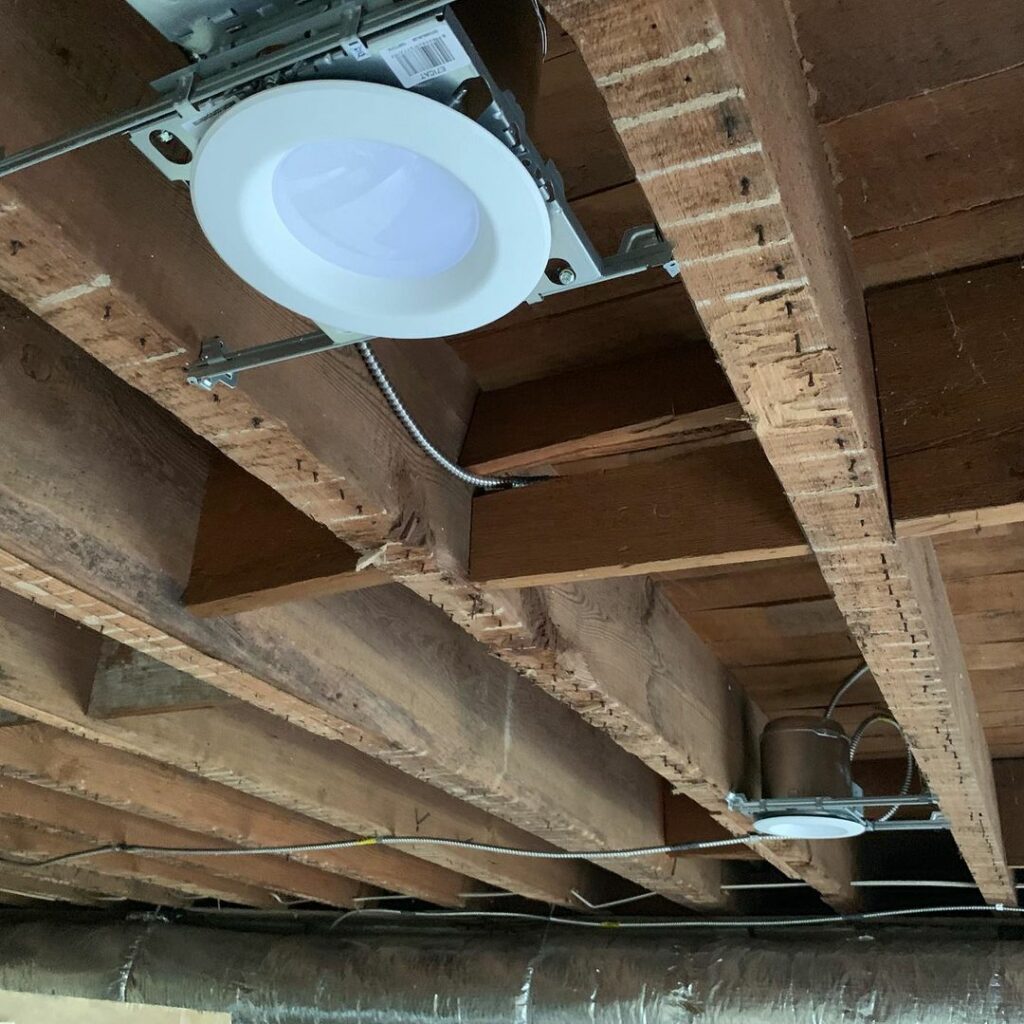
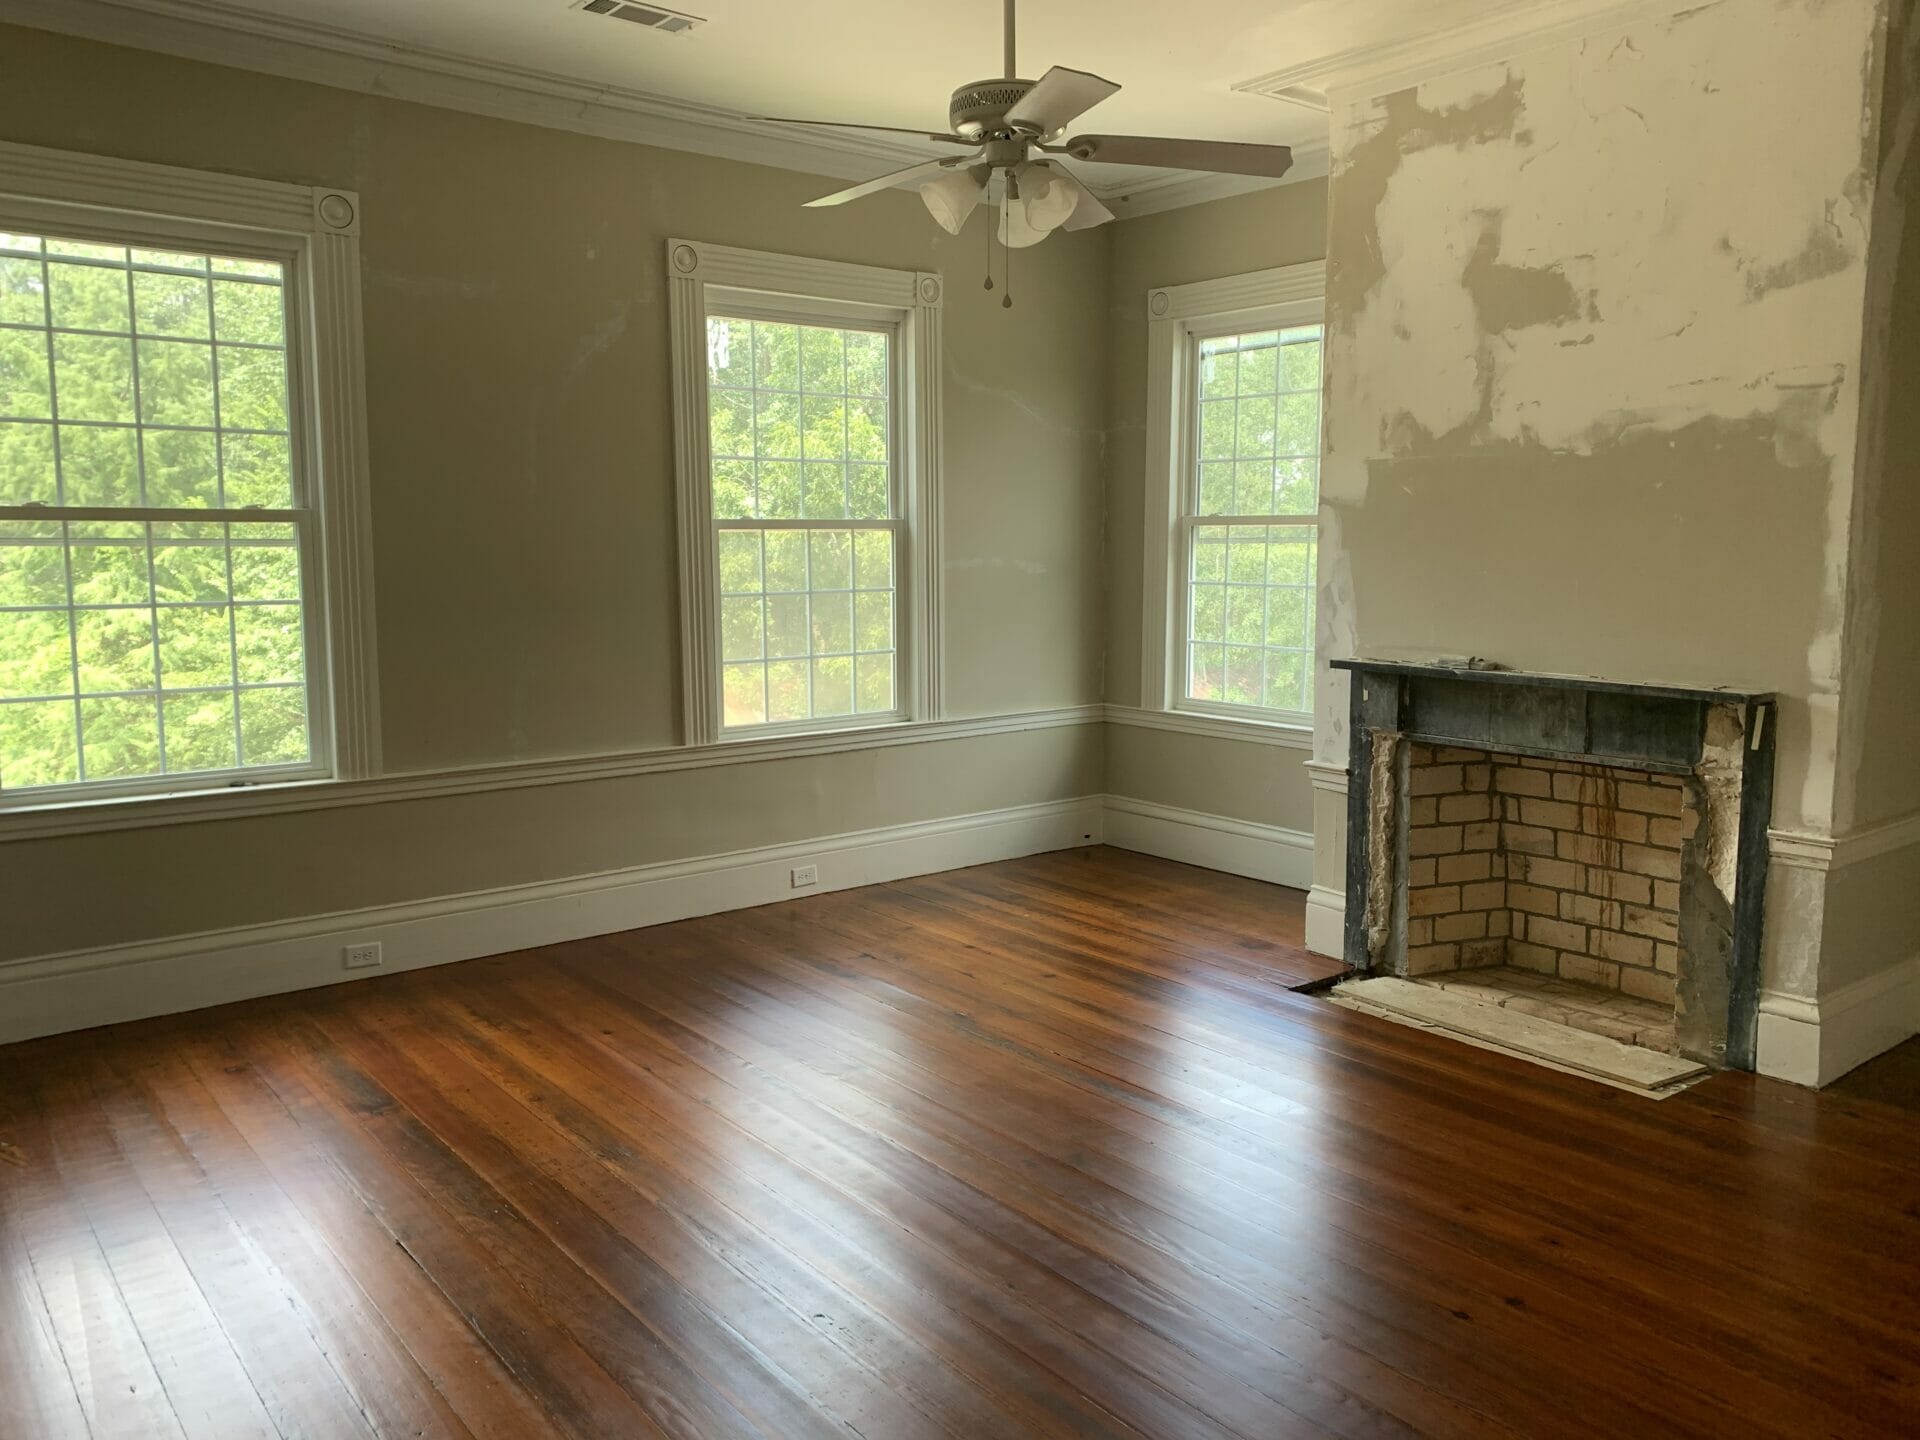
Our work began with modernizing the home’s critical systems: completely new electrical, all new plumbing, and modern central heating and air. The wiring was installed piecemeal over time. We could see remnants of knob-and-tube (likely some of the first electricity in the home) and some modern wiring in various parts of the home. We estimate most of the plumbing and bathrooms were installed in the mid-twentieth century, and there was no central heat or air. The back porch had almost completely rotted away and one of the fireplaces had all but collapsed in on itself.
Bee Removal
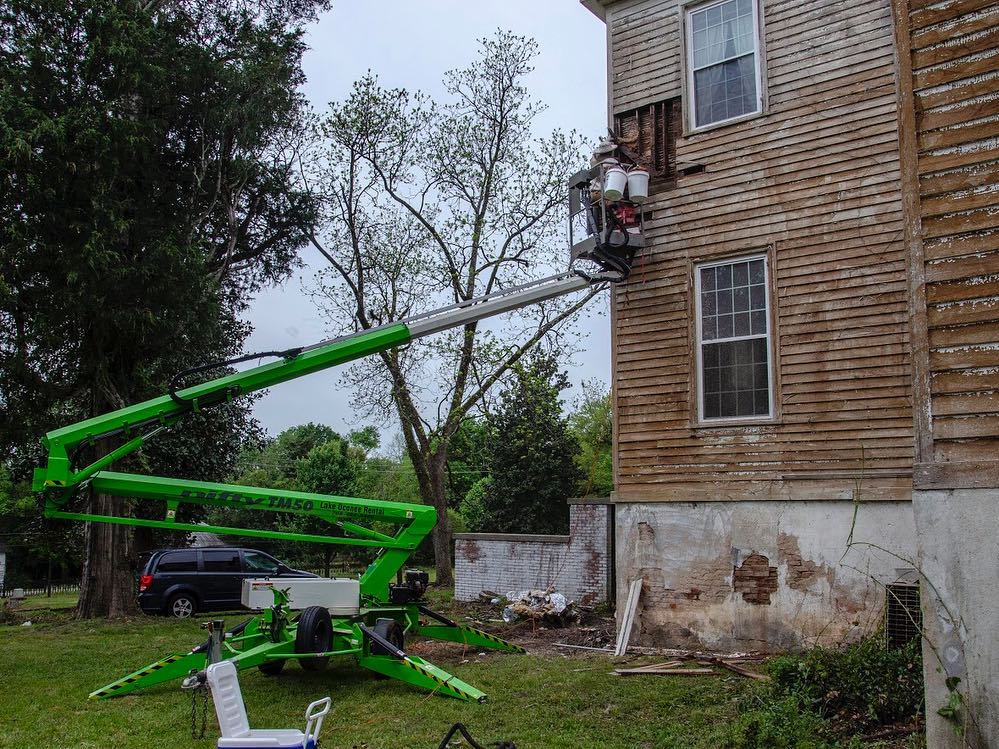
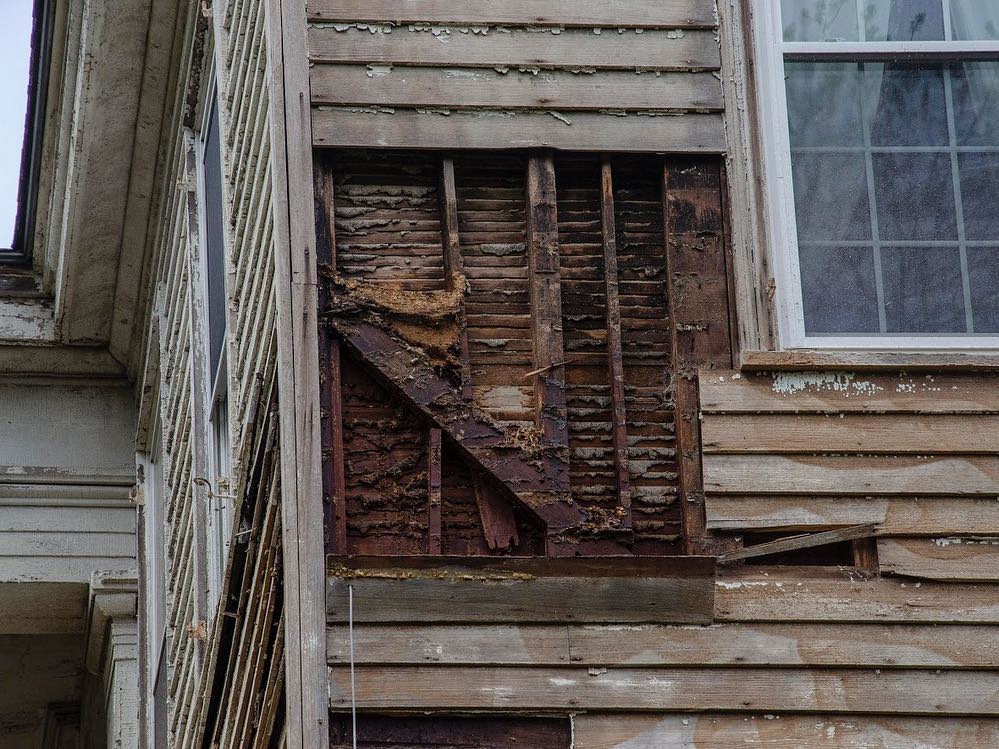
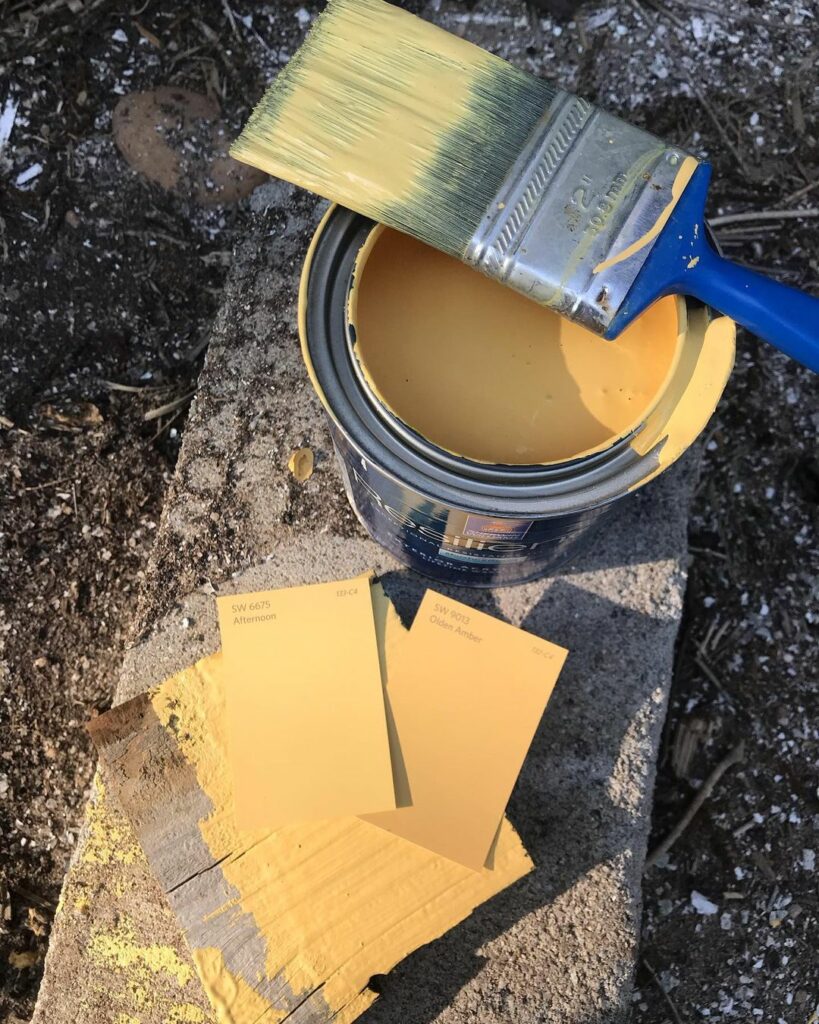
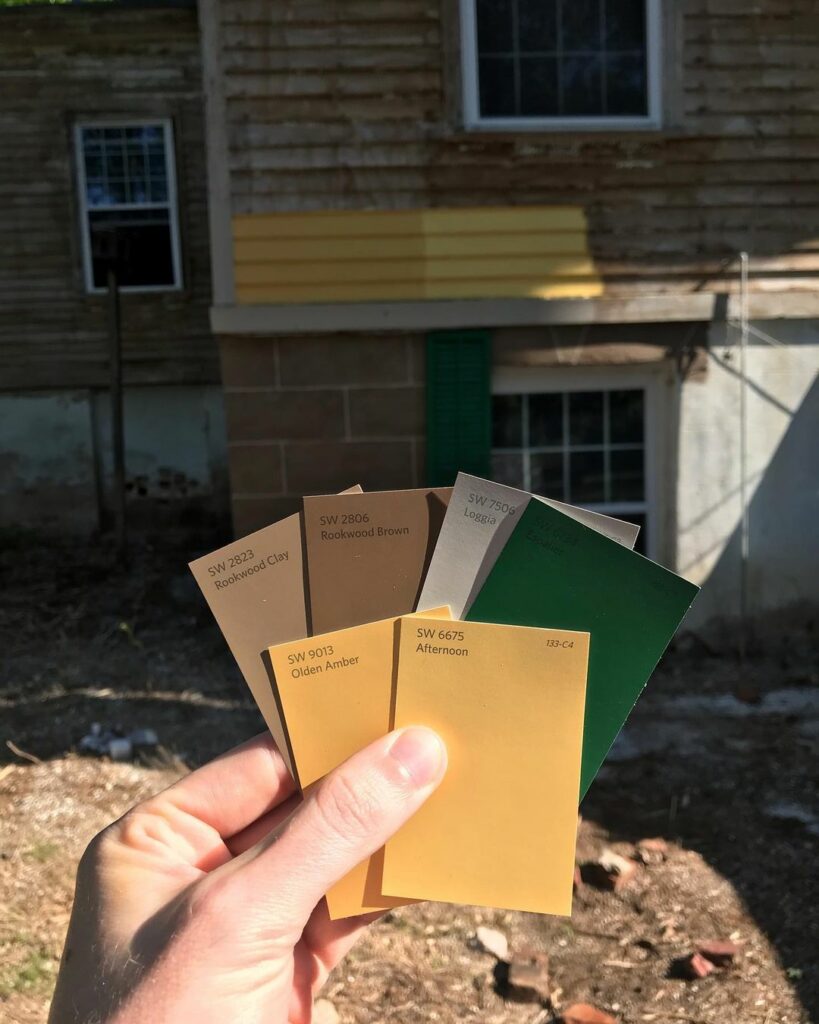
The most visible work in this phase of restoration was the exterior repairs and paint. After some minor repairs were made to the historic clapboard siding (including finding and removing a beehive), we worked with our preservation consultants on a historic paint analysis. Through that process, we discovered the original color of the home was ochre-yellow, common for the 1830s. We chose the current exterior color to pay homage to the vision of Rockwell’s designers.
Yard Clean-Up Before & After
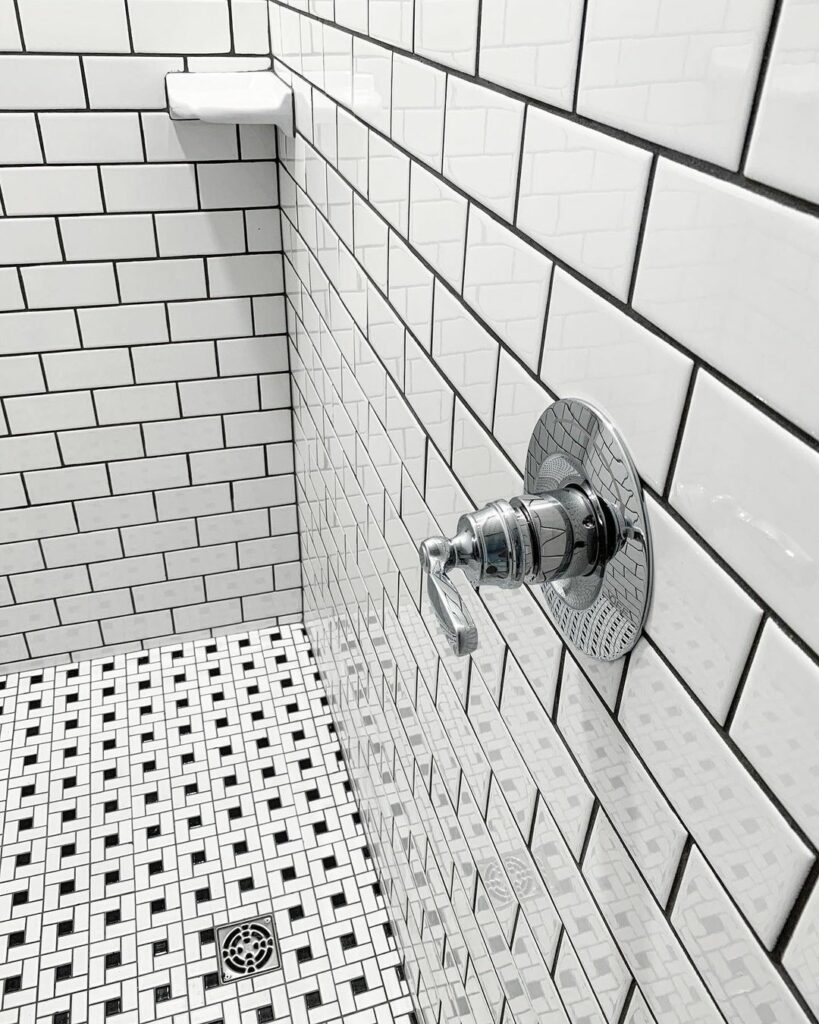
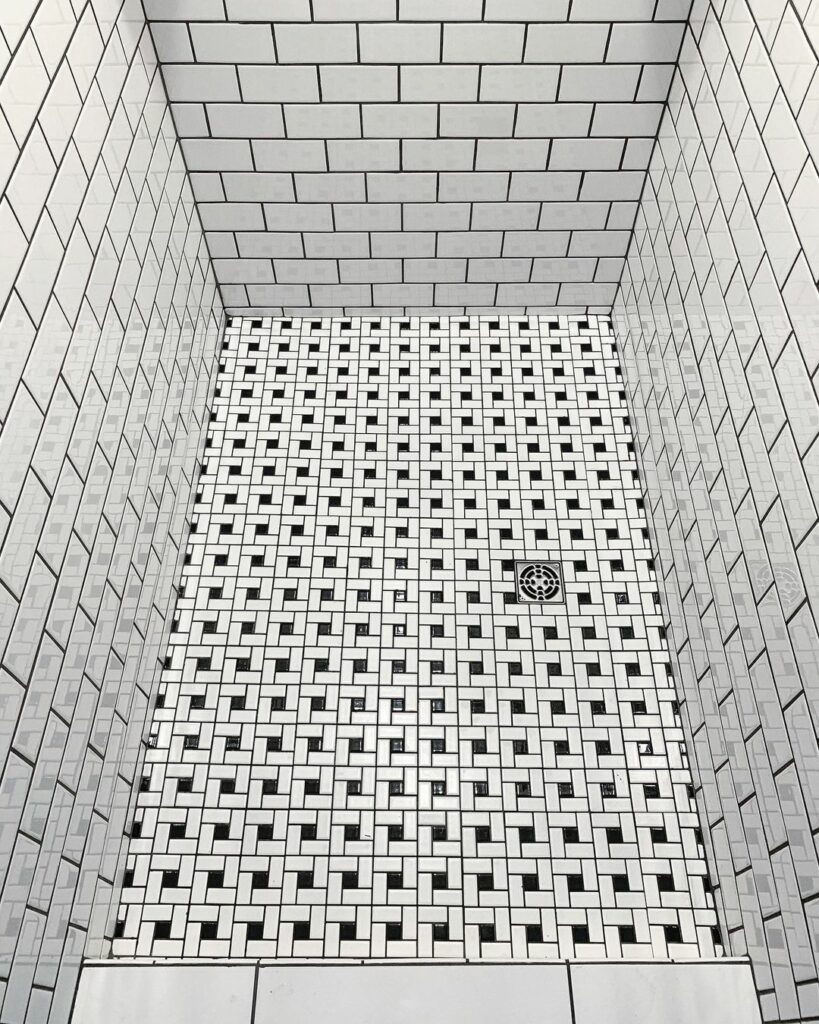
Throughout this phase, we also updated the two existing bathrooms on the main floor and added 3 additional bathrooms to the upstairs. To avoid altering the original footprint of the home, we installed the new bathrooms in what were closets. In all the bathrooms, we referenced the finishes of the mid-century bathrooms with replica pinwheel floor tile.
Patching Holes
Selecting Paint Colors
HVAC, Electric & Plumbing Install

Bathroom Finishes
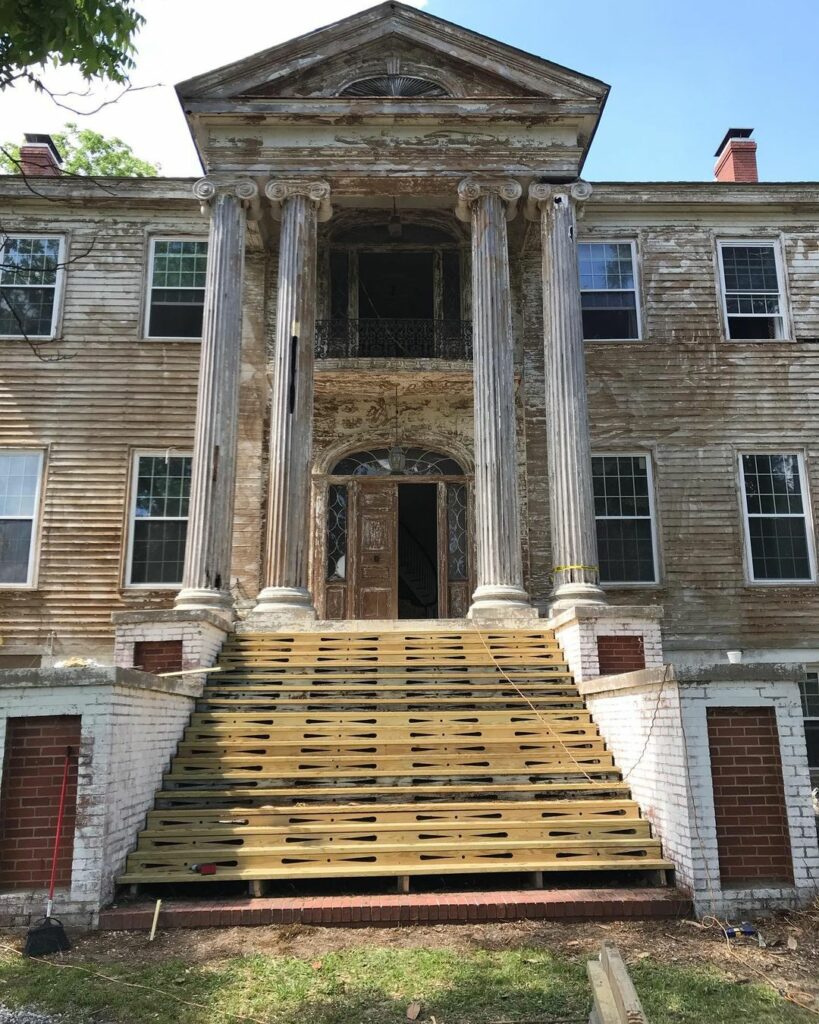
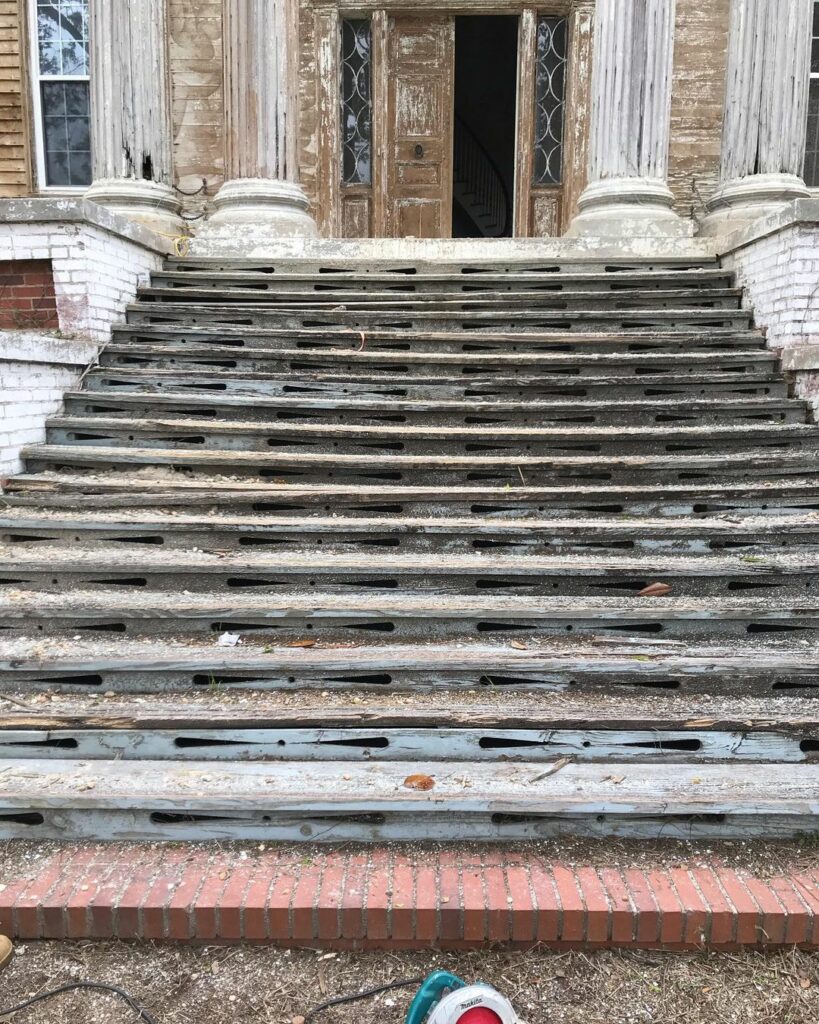
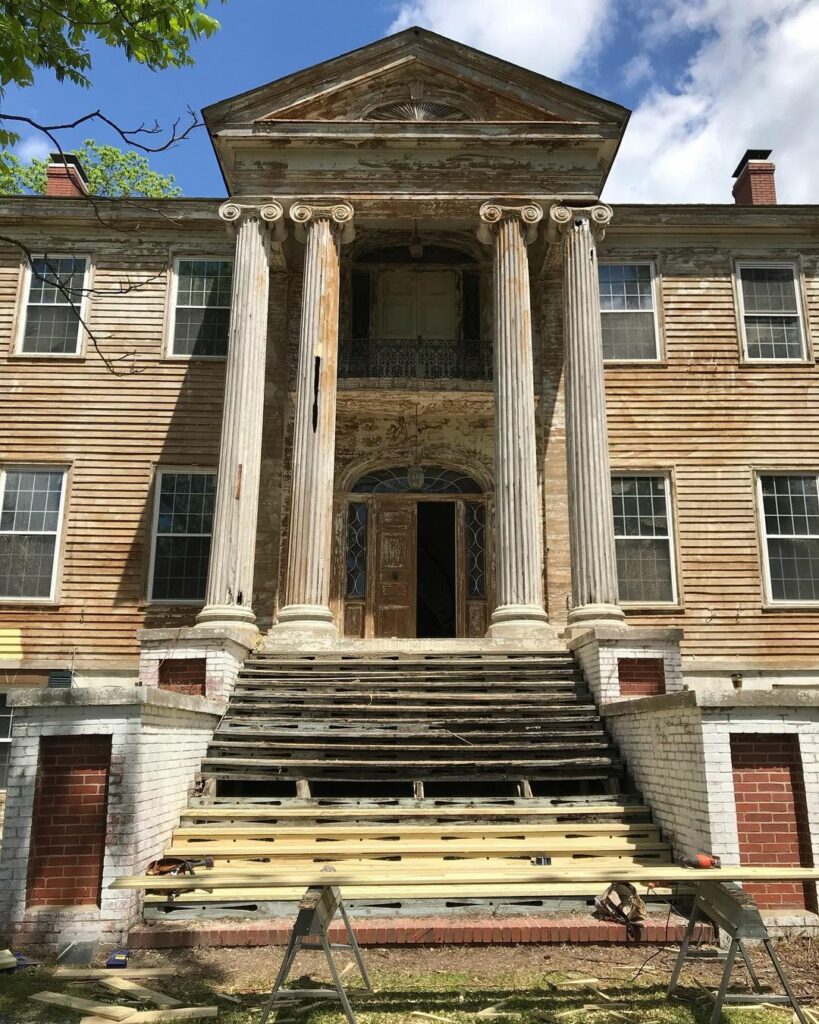
Replacing Front Steps
3. Interior, Plaster, and Millwork
The real fun began when we embarked upon the interior. While Rockwell House had been thoroughly modernized, there was plenty of work remaining to get the home back to its grandeur.
All of the home’s original wood floors were sanded and refinished. The existing kitchen, built with high-quality materials, was installed in 1980 and needed significant updates. We removed the vinyl flooring, reworked the footprint to expose a fireplace that was boarded up, and installed brand new Viking appliances.
3-D Printing
There was considerable plaster repair on the walls, ceilings, and plaster cornices. In addition to patching the walls and ceilings, we worked with a plaster craftsman to document the cornice patterns and perfectly reproduce missing fragments damaged by water intrusion and construction demolition.
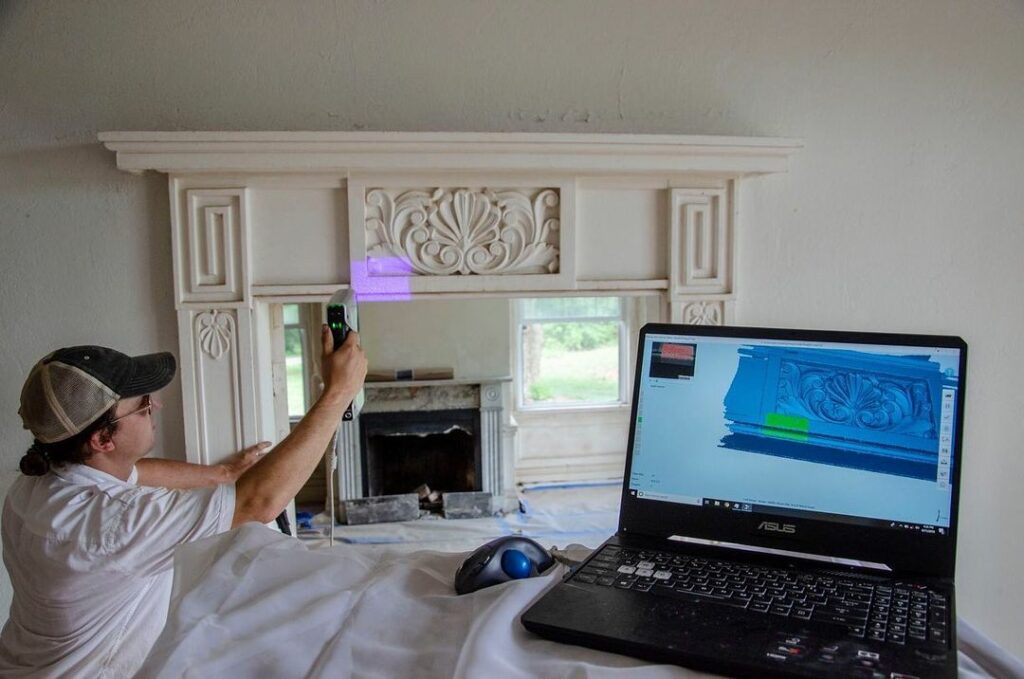
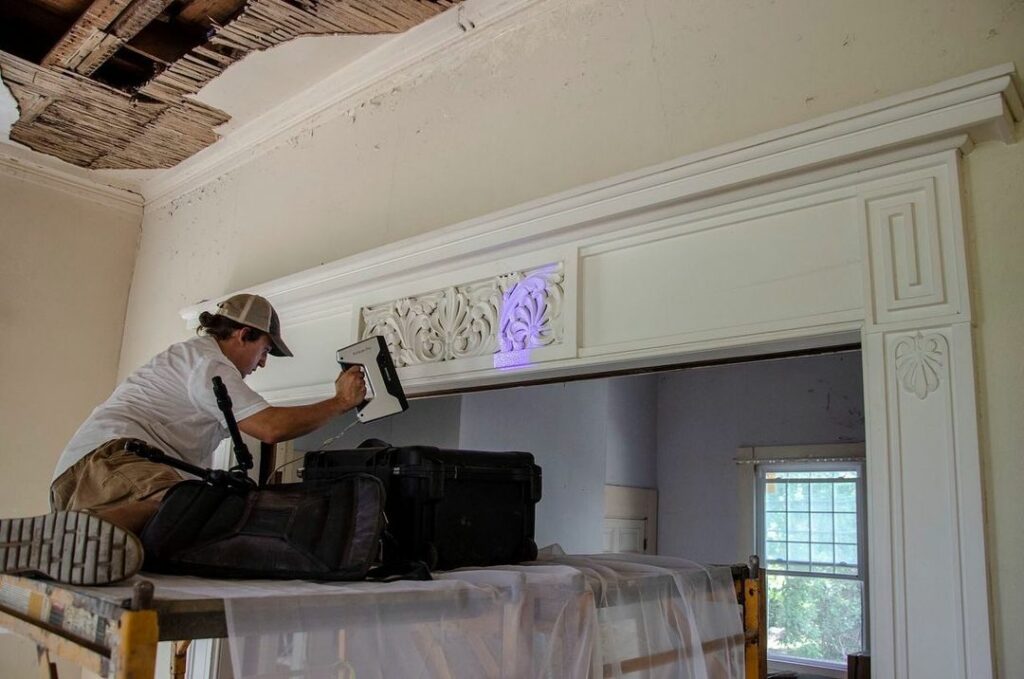
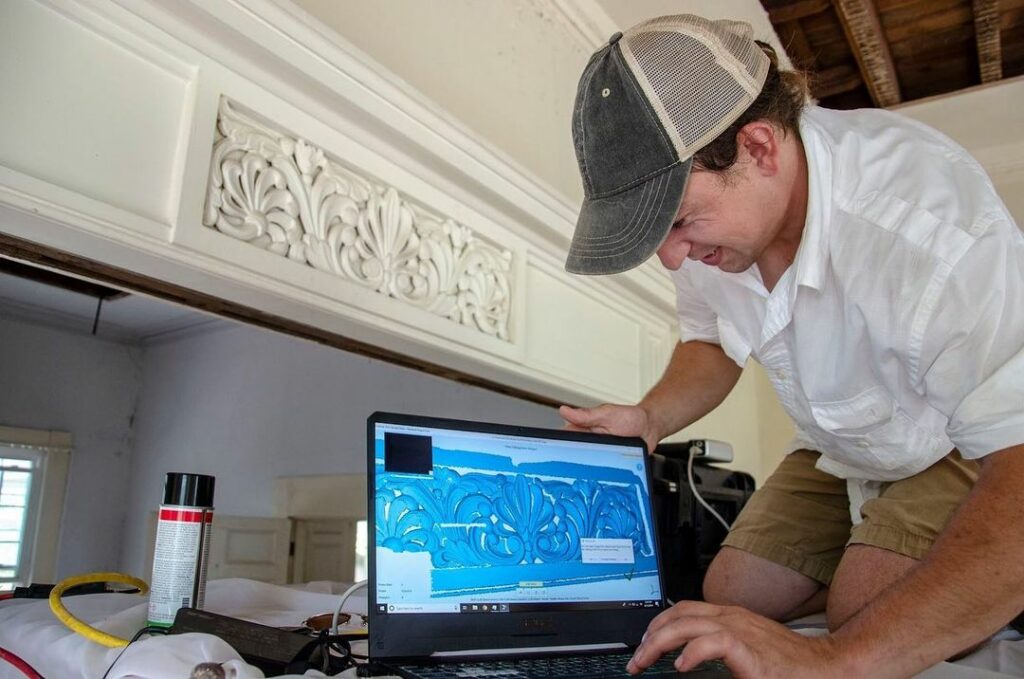
The dining room millwork, including trim, baseboard, wainscotting, and mantel, was sold to the Winterthur Museum in the 1970s to raise money for repairing fire damage. The materials are currently on display as the museum’s Georgia Dining Room. With the help of incredible craftsmen and a bit of technology, we reproduced the millwork exactly as it was, including 3-D printing of intricate carvings.
Floor Before & After

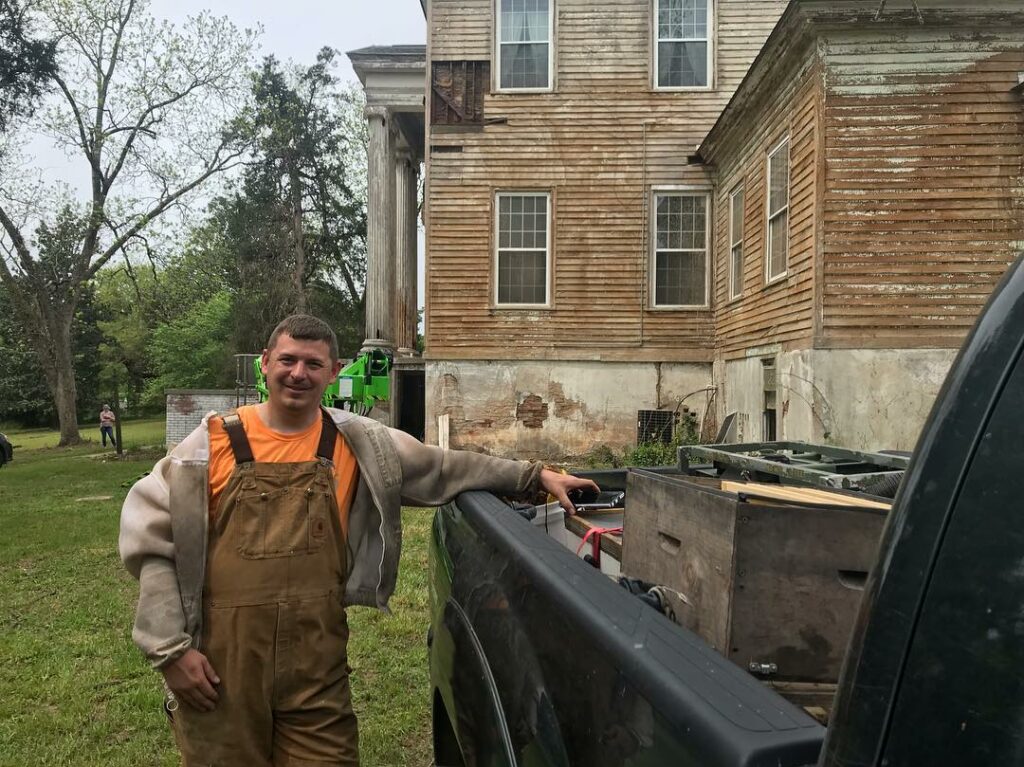
Throughout this phase, we were fortunate to partner with talented students from the American College of Building Arts in Charleston and Milledgeville’s local contractors. Surprisingly for some, there’s a large amount of restoration work you can complete on your own – and we did! We completed the floor refinishing, some tiling, painting, and interior design ourselves.
Certainly not least, there was a little bit of work still left to do outside. We repaired large holes in the columns of the front porch. After stabilizing the rear porch, we added a new roof, rebuilt the knee walls, found the historic clapboards out in the barn, and reattached and painted them. We also landscaped the entire area around the house with beautiful native plants along with landscape lighting that makes the exterior really special at night.
4. Our Next Projects
From a preservation perspective, the biggest remaining project is to replace the vinyl windows of the home with the repaired original wooden windows (many of which were saved over the years and are in storage). Along with wooden windows, we are also working on installing shutters.
The 12-acre property also has a lot of potential. The stream-fed pond on the property is serene, and we’re planning improvements like a shelter, better pathways, and dedicated gathering spaces around the pond. We’re also working on plans to add a timber-framed shelter large enough to accommodate outdoor events. Each rental at the Rockwell House supports the ongoing preservation of this incredible treasure.
